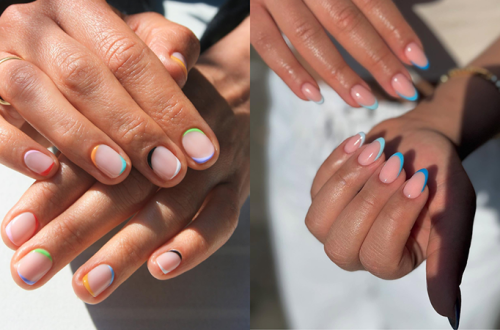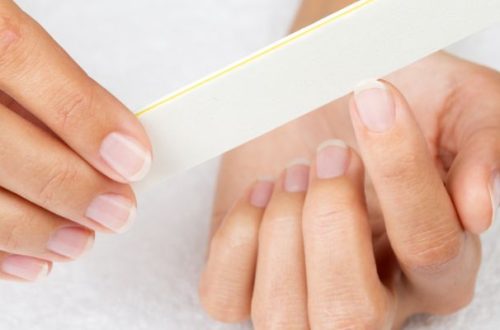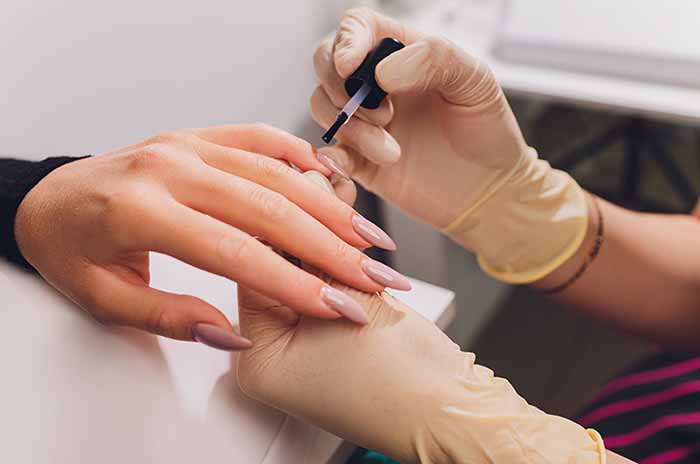
Doing your own manicure at home is one of the most satisfying beauty skills you can learn. It saves money, gives you complete control over your schedule, and allows you to experiment with colors and designs without a salon appointment. But a beautiful, long-lasting manicure is not just about painting polish onto your nails. It starts with the right tools, careful preparation, and a few simple techniques. This guide covers everything a beginner needs to know, from building your kit to keeping your nails healthy and strong.
Essential Tools for Your At-Home Manicure Kit
You do not need a salon full of equipment to get started. A few well-chosen tools will cover almost everything you need.
A fine-grit nail file (180–240 grit). This is for shaping the free edge. Fine grit is gentle on natural nails and helps prevent peeling. Glass files are excellent because they last for years.
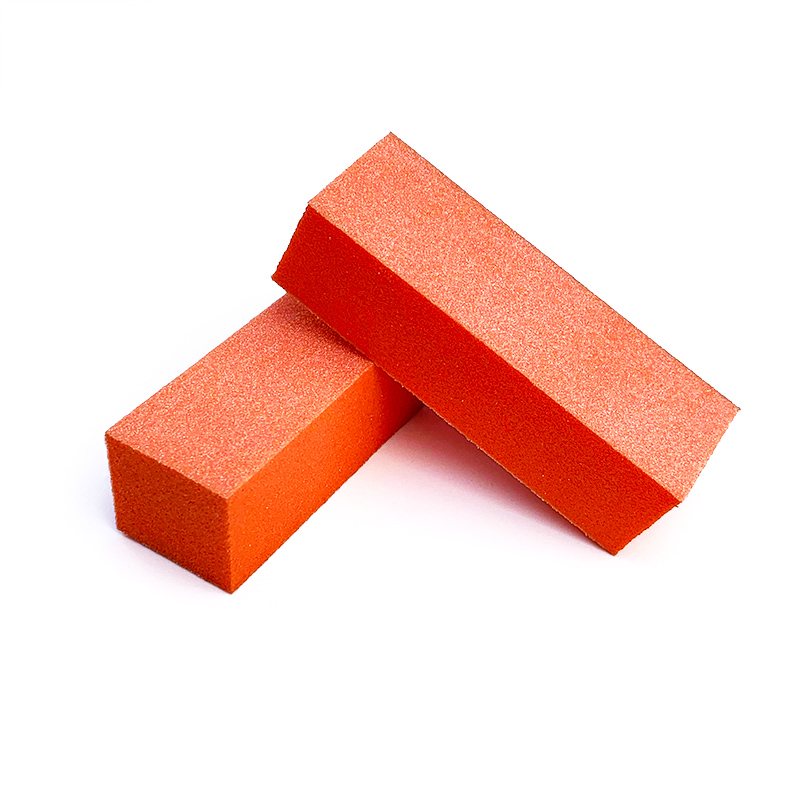
A buffer block. A gentle buffer smooths ridges and removes shine from the nail plate before polish application.
A cuticle pusher. A wooden or rubber-tipped pusher is used to gently push back the cuticle. Avoid metal pushers if you are a beginner—they can scratch the nail plate.
Nail clippers. For shortening longer nails before filing. Use sharp, clean clippers.
Lint-free wipes. Cotton balls leave fibers that can stick to polish. Lint-free wipes are better for applying cleanser or dehydrator.
Rubbing alcohol or nail dehydrator. This removes oils from the nail plate so polish adheres properly.
Base coat. A good base coat prevents staining, improves adhesion, and creates a smooth surface.
Nail polish or gel. Choose a formula and color you love. For beginners, regular polish is easier to control and remove.
Top coat. A high-gloss top coat seals the color, adds shine, and extends wear.
A cleanup brush. A small angled brush dipped in polish remover is essential for perfecting the cuticle line and cleaning up mistakes.
Cuticle oil. For aftercare. Hydrated cuticles keep the manicure looking fresh and prevent hangnails.
Optional extras include a nail brush for cleaning under the free edge, a quick-dry top coat, and a hand cream.
How to Prepare Your Nails Before Painting?
Preparation is the most important step. If you skip it, even the most expensive polish will chip within days.
Start by removing any old polish. Use a gentle, acetone-free remover for regular polish. For gel, use the proper soak-off method. Never peel or scrape.
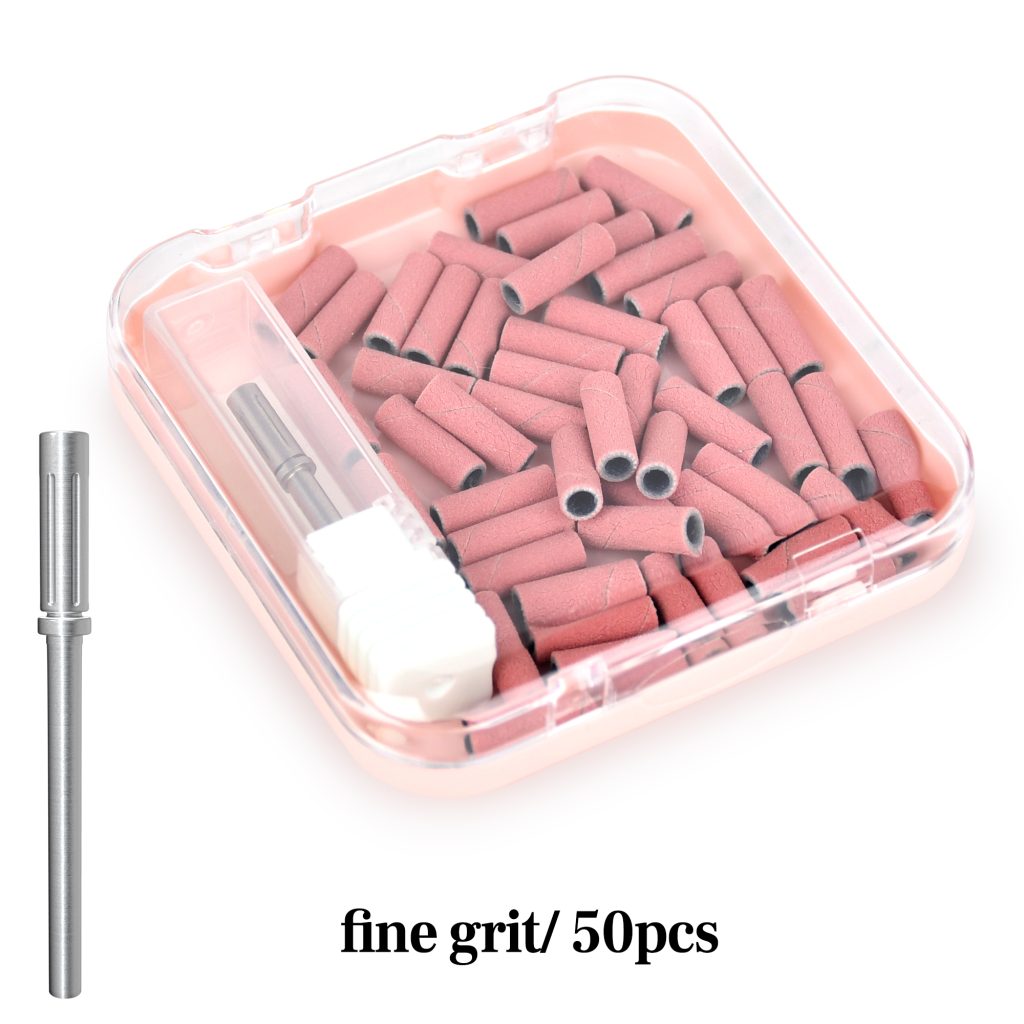
Next, shape your nails. Use a fine-grit sanding band and file in one direction only—from the outer edge toward the center. Sawing back and forth creates micro-tears that lead to peeling and splitting. Choose a shape that suits your hands. Squoval (square with rounded corners) is universally flattering and durable.
Push back your cuticles. Soak your fingertips in warm water for a few minutes to soften the skin. Gently push the cuticle back with a wooden or rubber-tipped pusher. Do not cut living cuticle—it is a protective seal. Only trim loose, dead skin if necessary.
Lightly buff the nail surface. Use a fine buffer to remove the natural shine. Two or three light passes are enough. Do not over-buff, as this thins the nail plate.
Remove all dust with a soft brush. Then wipe each nail with rubbing alcohol or a nail dehydrator on a lint-free wipe. This removes oils and moisture. After this step, do not touch your nails with your bare fingers. Finger oils transfer instantly and prevent polish from bonding.
Choosing the Right Nail Color
Color is personal, but a few guidelines can help you choose a shade that flatters your hands and suits the occasion.
For everyday wear, nudes, sheer pinks, and soft neutrals are always safe. They complement every outfit and make the hands look clean and polished. If you want something more noticeable, choose a color that matches your skin tone’s undertone. Fair skin usually suits cool tones like blue-based reds, soft pinks, and lavenders. Medium and olive skin tones glow with warm shades like peach, coral, and caramel. Deep skin tones look stunning with rich jewel tones, bright reds, and bold oranges.
Consider the finish as well. Glossy finishes are classic and shiny. Matte finishes are modern and understated. Glitter and shimmer add texture and catch the light. For beginners, cream or jelly polishes are the easiest to apply evenly.
How to Apply Polish for a Smooth, Even Finish?
The key to a smooth finish is thin layers and careful technique.
Start with a thin base coat. Cap the free edge—run the brush along the tip of the nail—to seal it. Let it dry completely.
Apply the first color coat in a thin layer. Wipe one side of the brush against the bottle neck to remove excess polish. Place the brush at the center of the nail, just above the cuticle. Push gently toward the cuticle without touching the skin, then pull the brush smoothly toward the tip. Repeat on each side. The first coat may look streaky; this is normal.
Let the first coat dry for two to three minutes. Apply a second thin coat using the same technique. Two thin coats are better than one thick coat. Thick polish bubbles, peels, and takes much longer to dry.
Finish with a generous layer of top coat. Cap the free edge again. Top coat seals the color and adds shine.
Clean up any polish that has strayed onto the skin with your cleanup brush dipped in remover. A clean edge makes even a simple polish look professional.
How to Make Your Manicure Last Longer?
A long-lasting manicure depends on small habits.
Always use a base coat and a top coat. They are not optional if you want wear time.
Apply thin layers. Thick layers chip faster.
Cap the free edge with every layer—base, color, and top coat.
Keep polish off the cuticle and sidewalls. Product on the skin lifts first.
Wait at least an hour after finishing before washing dishes or taking a shower. This gives the polish time to harden fully.
Wear gloves for dishwashing, cleaning, and gardening. Water and harsh chemicals are the fastest way to ruin a manicure.
Apply cuticle oil daily. Hydrated nails are flexible and less likely to chip.
Reapply a thin layer of top coat every two to three days. This refreshes the shine and seals any small scratches.
Avoid using your nails as tools. Do not open cans, peel stickers, or scrape with your nails.
If a chip appears, file the edge smooth and apply a thin layer of polish followed by top coat. Do not pick at it.
How to Care for Your Nails Between Manicures?
Healthy nails are the foundation of every beautiful manicure. Care for them even when you are not wearing polish.
Moisturize daily. Apply cuticle oil and hand cream to keep the nail plate and surrounding skin hydrated. Jojoba oil is excellent because it penetrates the nail plate and mimics the skin’s natural oils.
Keep nails trimmed and shaped. A quick weekly file prevents snags and breaks.
Wear gloves for wet work. Water causes the nail plate to swell and shrink, which weakens the nail over time.
Eat a balanced diet. Nails are made of keratin, a protein. Include lean meats, eggs, fish, beans, and legumes. Biotin, iron, and zinc also support strong nails.
Take breaks from polish. Give your nails a few days of bare, oiled rest every month. This allows the nail plate to rehydrate and helps you spot any changes in nail health.
Use a nail strengthener if your nails are weak or peeling. Choose a keratin-based formula and apply it once a week.
Be patient. Nails grow slowly—about 3 millimeters per month. Consistent care will show results over time.
Final Thoughts
A beautiful at-home manicure is within reach for anyone willing to learn a few basic skills. Build a simple kit, prepare your nails carefully, choose a color you love, apply thin layers, and protect your hands. With practice, you will achieve smooth, even, long-lasting results that rival a salon. And your nails will stay strong and healthy along the way.
Read also: The Unique French Manicure: 2026 Trends and Types